 |
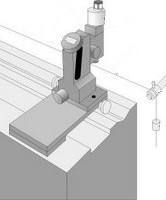
 application setup |
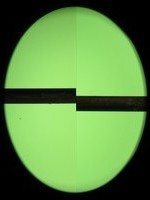
 split-image eyepiece |
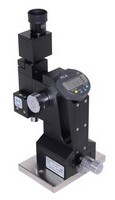
Portable measurement microscope for the alignment of machine bearings.
The measuring wire ist fastened to the headstock or a special holding device, fed at the end of the base over a pulley and stretched tight with a weight (layout according to DIN 8606).
The alignment tester must be placed on the carriage of the machine or a corresponding device, which can be moved in a longitudinal direction in predefined steps on the machine base. The measuring wire must be aligned in such a way that the same values are measured in the starting and end position of the carriage, i.e. that it is tensioned to form an imaginary connecting line parallel to these positions. When the wire is aligned to the bearing, the value display is set to zero.
The straightness deviation can now be read directly on the display for each position when both parts of the image are fitted together by moving the microscope horizontally with the integrated micrometer spindle.
| Magnification | Field of view | Measurement range | Resolution |
| ≈ 44x | 3 mm | 10 mm | 1 µm |


