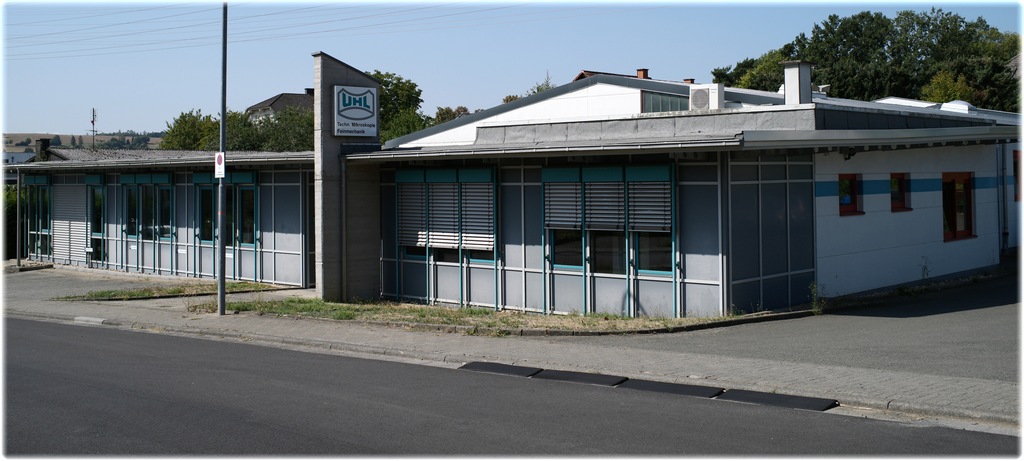
Walter Uhl
__________________________________________

technische Mikroskopie GmbH & Co. KG

  • Impressions

    IMPRESSIONS

    from our factory
  • Connected

    WORLDWIDE CONNECTED

    our communication center
  • 3D design

    3D DESIGN

    layout and design of complete systems or oem-components
  • Scheduling

    PRODUCTION SCHEDULING

    in dialogue with the production manager
  • Bodies

    MICROSCOPE BODIES

    stands shipped from the iron casting supplier
  • Handcraft

    HANDCRAFT

    by skilled employees
  • Handling Tool

    HANDLING TOOL

    to bring the iron cast body into the machine
  • Tool Carrousel

    TOOL-CARROUSEL

    for the different production steps
  • CNC machining centre

    CNC MACHINING CENTRE

    of the latest generation
  • Milling

    MILLING

    the locating surfaces of a x/y measuring stage
  • Finished Bodies

    FINISHED MICROSCOPE BODIES

    packed for the final surface coating
  • Robot System

    ROBOT SYSTEM

    for the automatic work piece handling
  • Loading an Unloading

    LOADING AND UNLOADING

    the work pieces into the robot depot
  • Special Tools

    SPECIAL TOOLS

    e.g. for engravements or milling of dovetail bearings
  • A New Day

    A NEW DAY

    in the workshop
  • Bar Stock

    BAR STOCK

    for aluminium turned parts
  • Sawing

    SAWING

    of brass discs for further machining
  • CNC Turning Machine

    CNC TURNING MACHINE

    with machined bearing body of a z-axis
  • Thread Ring Gauges

    THREAD RING GAUGES

    for the machine setup and final check
  • Wrought Material

    WROUGHT MATERIAL

    pre-cut for machining
  • Pallet System

    PALLET SYSTEM

    with mounted pre-cut blocks for the robot picker arm
  • Batch Production

    BATCH PRODUCTION

    of many different microscope components on one of our machines
  • XY Measuring Stage Bodies

    XY MEASURING STAGE BODIES

    ready for surface treatment
  • CNC Precision Machining

    CNC PRECISION MACHINING

    in a climate controlled environment for highest precision
  • CNC Grinding

    CNC GRINDING

    of the locating surfaces of a xy measuring stage
  • CNC Precision Milling

    CNC PRECISION MILLING

    of the bearing mount surfaces of a xy measuring stage
  • Check

    CHECK

    of the bearing mount surface straightness
  • Linear Stage Bodies

    LINEAR STAGE BODIES

    precision machined and ready for assembly
  • Assembly

    ASSEMBLY

    of a xy measuring stage
  • Check LS

    CHECK

    and adjustment of a linear scale
  • Laser Measurement

    LASER MEASUREMENT

    of the positioning accuracy
  • Threaded Rings

    BUSHINGS AND THREADED RINGS

    for eye-pieces and objectives on stock
  • Mirrors

    MIRRORS AND REFLECTORS

    for the illumination systems of our microscopes
  • Assembly and Cleaning

    ASSEMBLY AND CLEANING

    of measuring objectives in a clean-airflow cabin
  • Final Assembly

    FINALY ASSEMBLY

    of pre-assembled electronic boards
  • Transformers

    TRANSFORMERS

    for halogen and LED illumination systems
  • Final Check

    FINAL CHECK

    and calibration of a measuring microscope
  • Adjustment

    ADJUSTMENT

    and final check of a spinneret inspection microscope
  • Historical Microscopes

    HISTORICAL MICROSCOPES

    replica of a Leitz-Microscope, besides a UHL microscope from 1958
  • Thank You

    THANK YOU

    for watching!

Company UHL

Walter Uhl technische Mikroskopie GmbH & Co. KG
Loherstraße 7
35614 Aßlar - Germany
Phone / Telefon: +49 (0) 6441 88603 Fax: +49 (0) 6441 85718
E-Mail: This email address is being protected from spambots. You need JavaScript enabled to view it.


History - Components B History - C-Stand History - Application

Our company was founded 1943 by Oskar Uhl, the father of Walter Uhl. During this period, objectives, eyepieces and dovetail z-drives for microscopes were produced. When Walter Uhl has taken over the company from his father, he has created and intruduced a component system containing single tube elements like clamping boxes, beam splitter cubes, filter inserts and raster bore plates.

Most of our products like positioning systems, measurement microscopes, custom systems and even the software are based on this basic idea of modular components.

In 2000 we have taken over the hand driven measuring microscope VMM series from Leica. Now we produce and distribute these instruments under our brand. We are the last german manufacturer who has a complete measurement microscope product range.

The low-load microhardness tester VMHT was also taken over from Leica in the year 2005. Now, further development is done continously by us.


Design and product development - 3D-CAD workstation Software development and technical documentation
Our own design and software development department gives us the ability to design, produce, assemble and distribute a product by ourselves completely.

Manufacturing - CNC turning Manufacturing - CNC milling Manufacturing - high precision finishing
With a high manufacturing depth, we can solve customer requirements flexible and quickly. A constanly high quality is guaranteed by that too.

Assembly - laser interferometer measurement Assembly - VMM measuring microscopes
The assembly area has a climate controlled measuring room in which e.g. the positioning accuracy of the measuring microscope stages is certificated according to VDI/VDE 2617.

Presentation room - demonstration units Presentation room - demonstration unit Presentation room - meeting and training
In our presentation room, we can demonstrate most of our instruments, together with the customer we can do test measurements. It is also used as in-house product training facility for one or more days (date arrangement recommended).

Qualification - in-house education movie about qualification in the craftsmanship (in german)
Mr. Uhl has established a training workshop, equipped with machinery and classroom, in the old company building. Young trainees are qualified as "Feinwerkmechaniker" - industry mechanic - by a master craftsman.